My experiences of tempering with sous vide.
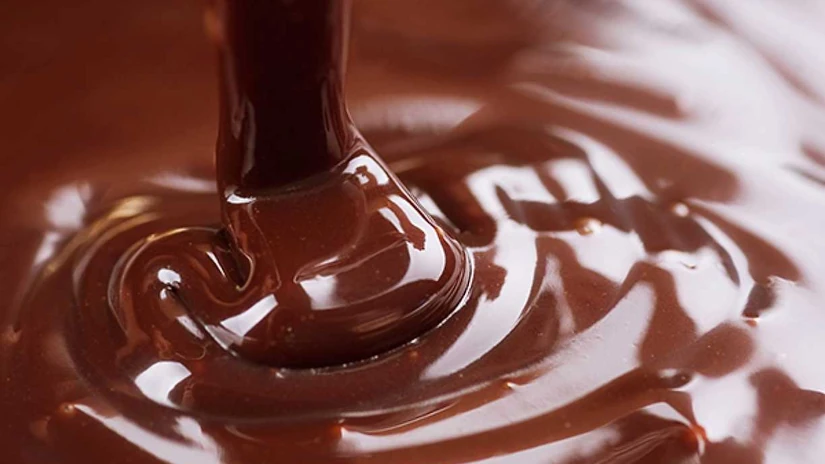
This experiment really started after I found some cheap silicone molds on sale and of course I was wondering "how hard can it be to make pralines at home?" It turns out that it is perfectly possible to make pralines yourself, even if you do not have any professional equipment.
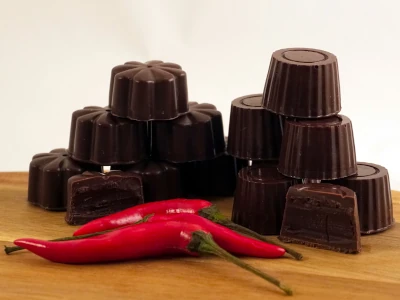 Chili praliner (piri piri)
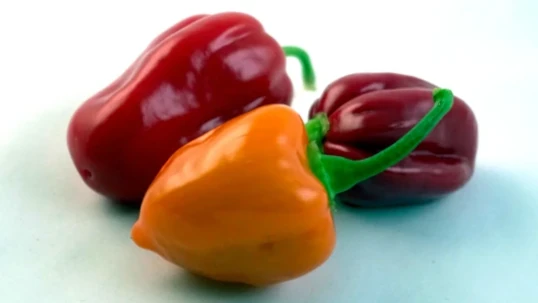
Of course, it is easier to have some professional equipment top do this, but I just mean that it is possible to make delicious pralines without it - like the ones seen in the picture. They are filled with chocolate ganache flavored with dried piri-piri which of course gives them a little heat. The first thing I learned here was that all forms of chili heat are dampened by all the sugar and fat in the chocolate, so you need to be quite generous with the amount of chili for it to taste through.
Note that this is from a beginner's point of view and I am absolutely sure that you can get better results with better equipment and knowledge, but personally I thought the method I use here results in a good enough end product that can be served with pride. If nothing else, you can start experimenting with different fillings and chocolates and then upgrade the gadgets for even better results.
What is tempering?
By tempering chocolate, you make sure that the cocoa butter in the chocolate crystallizes in the right way. Tempered chocolate is glossy and has the right hardness as you would expect from a chocolate praline.
Tempering chocolate is done in three steps:
- Melt the chocolate so that the fat melts (approx. 46°C, but the temperatures differ between different types of chocolate)
- Cool the chocolate to about 27°C.
- Heat the chocolate for use (approx. 32°C).
You can temper chocolate in a few different ways, but it is important to keep track of the temperature so a thermometer is a must. I happen to have a sous vide machine so for me it is an easy choice as it takes care of most things for me.
Tempering with sous vide
Since I have a sous vide machine whose whole purpose is to keep a constant temperature for a long time, it was an easy choice for me to use this method.
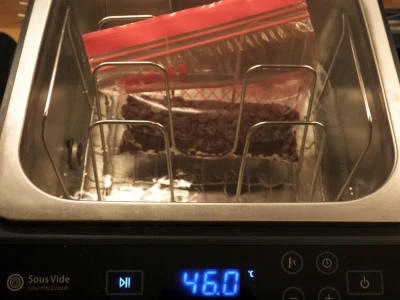 Chocolate in zip-lock bag
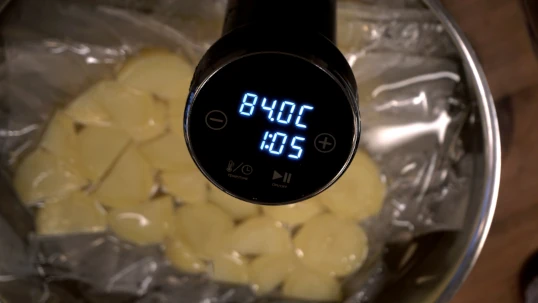
There are a variety of versions of sous vide appliances where some only consist of a circulator that you attach to a pot or larger container which you then fill with water. I bought my variant a lot of years ago and it is an all-in-one solution with a fairly large container that is good to use for most things.
So I start by heating the water in the machine to 46°C, which works well for the chocolate I use here. I chose a simple odense dark chocolate as it comes in small buttons and contains 54% cocoa. It is easy to get hold of and is quite cheap now that I am experimenting and will undoubtedly fail at some point.
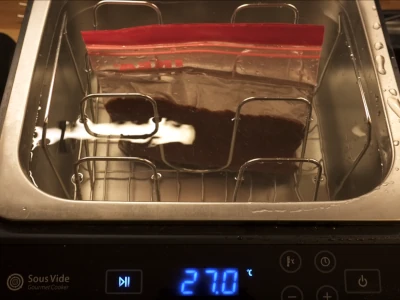 Fill with cold water
I placed the chocolate (150g) in a smaller plastic bag that can be resealed, which allowed me to open up a corner of the bag and let out extra air that was left in the bag while the chocolate melted. You just have to be careful here so you do not let a drop of water into the chocolate. After I saw that all the chocolate had actually melted in the bag, it was left to stand at 46°C for about 10 minutes.
Then it was time to cool the chocolate to a lower temperature. This should be done fairly quickly so I poured on a large amount of ice cold water which reduced the temperature to 27°C which was exactly what I was looking for.
After this, just set the temperature to 32°C. When the temperature was reached, I made sure to squeeze the bag a little at regular intervals. After 5-10 minutes of this, it was time to use the chocolate.
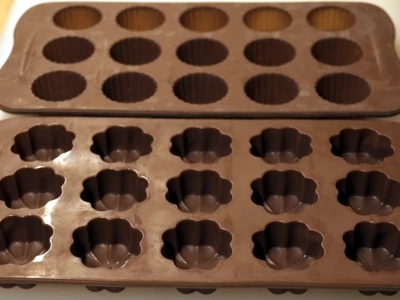 Cheap silicone molds
I found these rather unattractive molds cheap and discovered some quirks with silicone molds that may be worth thinking about. They are very soft and if you want to move the mold to the fridge to speed up parts of the process, you can distort the shape of the pralines so it is easier to have the molds directly on a sturdy cutting board for movement.
For the same reason as above, it was difficult to let the chocolate float on the sides of the mold to create the praline shell. I used a toothpick and forced the soft chocolate up on the sides of the mold, which worked quite well. Maybe not very professional, but if it works, it works.
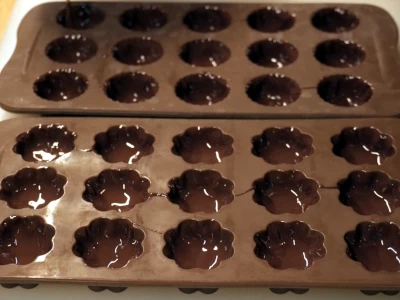 The praline shell
With the molds filled and after a bit of fussing about getting the chocolate up the sides of the mold, it was time to move them into the fridge to let the chocolate harden quickly. This went pretty smoothly after I came up with using the cutting board to move the molds. It does not take very long for the chocolate to harden in the fridge and in the meantime it is perfect to start with the filling. I chose to make a simple ganache with a little chili. Basically just to heat up the ingredients and mix well.
When the filling was ready, it was allowed to cool for a while, but it was still warm enough to be liquid. I could then fill the praline shells easily. The first time I did this, I took the molds directly from the refrigerator and depending on which filling you use, it may be appropriate to let the molds rest at room temperature for a while so that the filling does not solidify immediately upon contact.
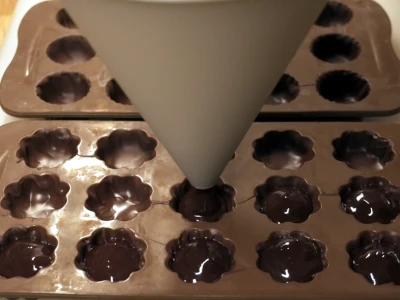 Filling (piri piri ganache)
When the filling was in place in the praline shell, it was time to set everything in the fridge again. But before that, I tapped the molds lightly against the table a few times. This makes the surface of the filling horizontal and it is easier to fill with the last layer of chocolate, which then becomes the bottom of the pralines.
So it was time to redo the tempering process again, though this time with only half the amount of chocolate. I used a new bag and start the machine again. In the meantime, the praline can be left in the fridge, but pick it out for a while before the tempering is complete so we avoid too big temperature differences.
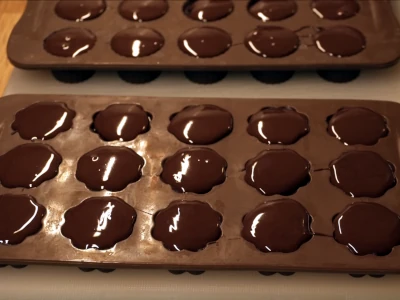 Praline bottom
With a new batch of tempered chocolate ready, just fill the molds to the top and then tap them lightly against the table so it becomes as flat a surface as possible. In the pictures here I filled in a little too much so it was not completely perfect. I tried to take a knife and pull off excess chocolate as I have seen people usually do with more stable plastic molds, but it did not work well at all with these soft silicone molds, so I just let it be.
Once the bottom was in place, everything went into the fridge again for the last time. I left them for about an hour because I wanted to be sure that they were completely solid, which they turned out to be.
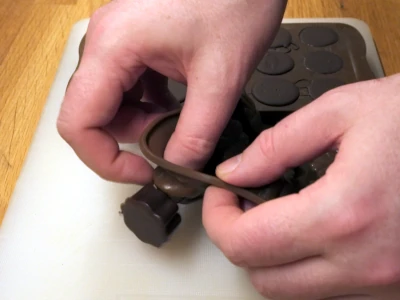 Easy to get out of the mold
Then it was just a matter of taking them out of the fridge and pushing the pralines out one by one. Overall, it exceeded expectations and I thought it turned out very well. It was really fun to be able to offer homemade pralines and I will definitely continue to experiment with different flavors and types of fillings.
So to return to my original question "how difficult can it be to make pralines at home?" I must say that it was not easy, but not difficult either. Having a sous vide machine makes it easier, but the silicone molds were not completely easy to work with. It got a little fussy and you always had to be careful when moving the molds.
In any case, I thought it was worth the time I invested in this to be able to make my own pralines and experiment further. This process is excellent for homemade pralines, but I feel that I would probably like to invest in a little better equipment for next time. I also want to make sure to try around with some other kinds of chocolate. I know that Valrhona have many different varieties that should be really good and I will have to continue with that next time. Overall, I give this thing a big thumbs up and am currently enjoying homemade piri piri chocolates!
